Managing Tasks with Ideaflip - from Backlog to Focused Team Plan
In this post, we're going to take a look at how you can use Ideaflip to quickly sort through a long list of tasks to find the most important ones for you and your team to get started on.
Import the List from a CSV file
The first thing to do is to get the list of tasks into Ideaflip. If you have it as a simple list of titles in a notepad text file or Word document you can just copy and paste it into the quick entry box to create notes.
However, we want to supply some extra information to help with decision making so we're going to import our task list as a CSV file.
GitHub Issues
As an example, in this post we're going to use the open issues of a GitHub project - these are sometimes referred to as a 'backlog' of tasks.
The project we've picked is called emojicode and is a tongue in cheek initiative to create a programming language out of emojis.
We could do this by organising the issues in a spreadsheet and exporting it as a CSV, but purely for this example, let's use GitHub's API and a little bit of code to download the issues and create the CSV automatically.
If you're a programmer (or even if you're not!) and want to look at the code we used, it is at the end of this post. However, remember that this was just one way to get a list of interesting things to import and you don't need to do understand or use this at all.
CSV Format
This resulting CSV file contains a list of issues from the project:
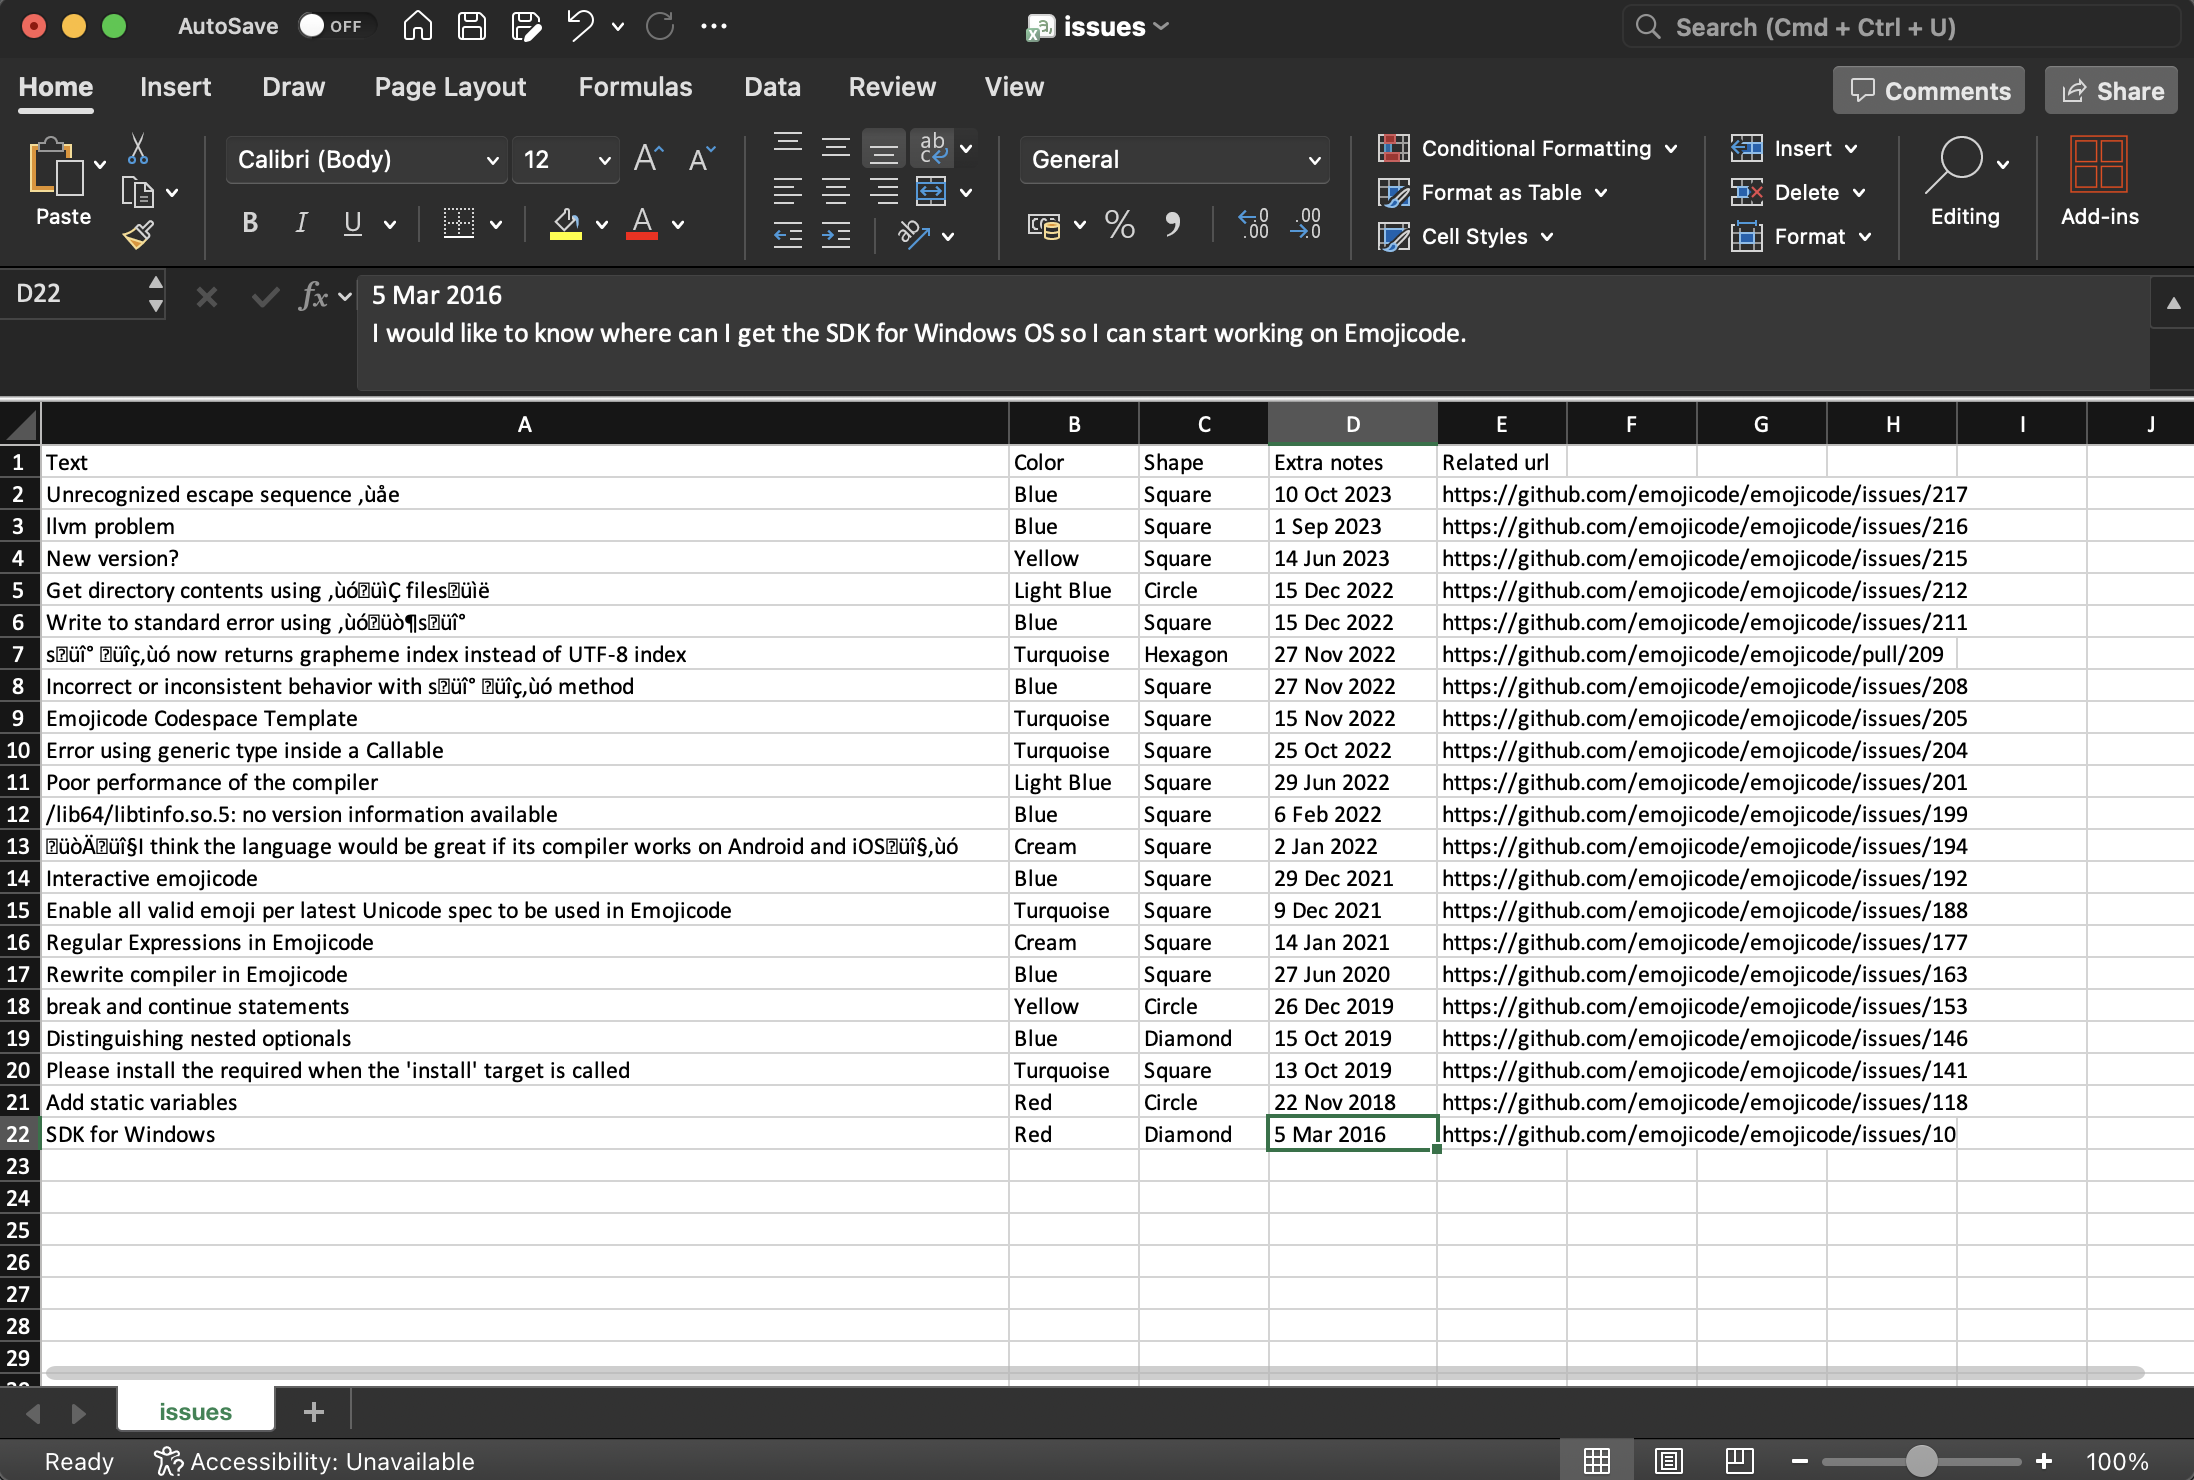
The first line is just the column headings from the standard Ideaflip CSV export format for each note's text, color, shape, etc.
Each following row has the information for creating a new note. In this example we've:
- made the note Text the issue's Title
- mapped the Color to how many comments each issue has on a scale from Blue (cold/few comments) to Red (hot/lots of activity)
- selected the Shape to be:
- a Circle or a Diamond for anything labelled as a proposal or enhancement
- a Hexagon if it's a pull request (an issue with code ready to include)
- a Square note otherwise
- added the creation date and the first part of the description to the Extra Notes
- and placed the link to the issue's web page in the Related url section
Note how it's possible to include newlines in the CSV file format (as long as they're quoted).
Also, note the odd looking bits of text - things like "‚ùåe" - this is Excel getting confused about the emojis 🤦. The file is in a format called UTF-8 and Ideaflip will understand that just fine.
Again, remember that this is just the example we've chosen - if you want to try this, the main thing is just to get your tasks into a list - and you can choose to map colors or shapes if it's useful.
Importing from CSV
To import the list into Ideaflip - just drag and drop the CSV file onto the Ideaflip board. The notes will appear in a big pile.
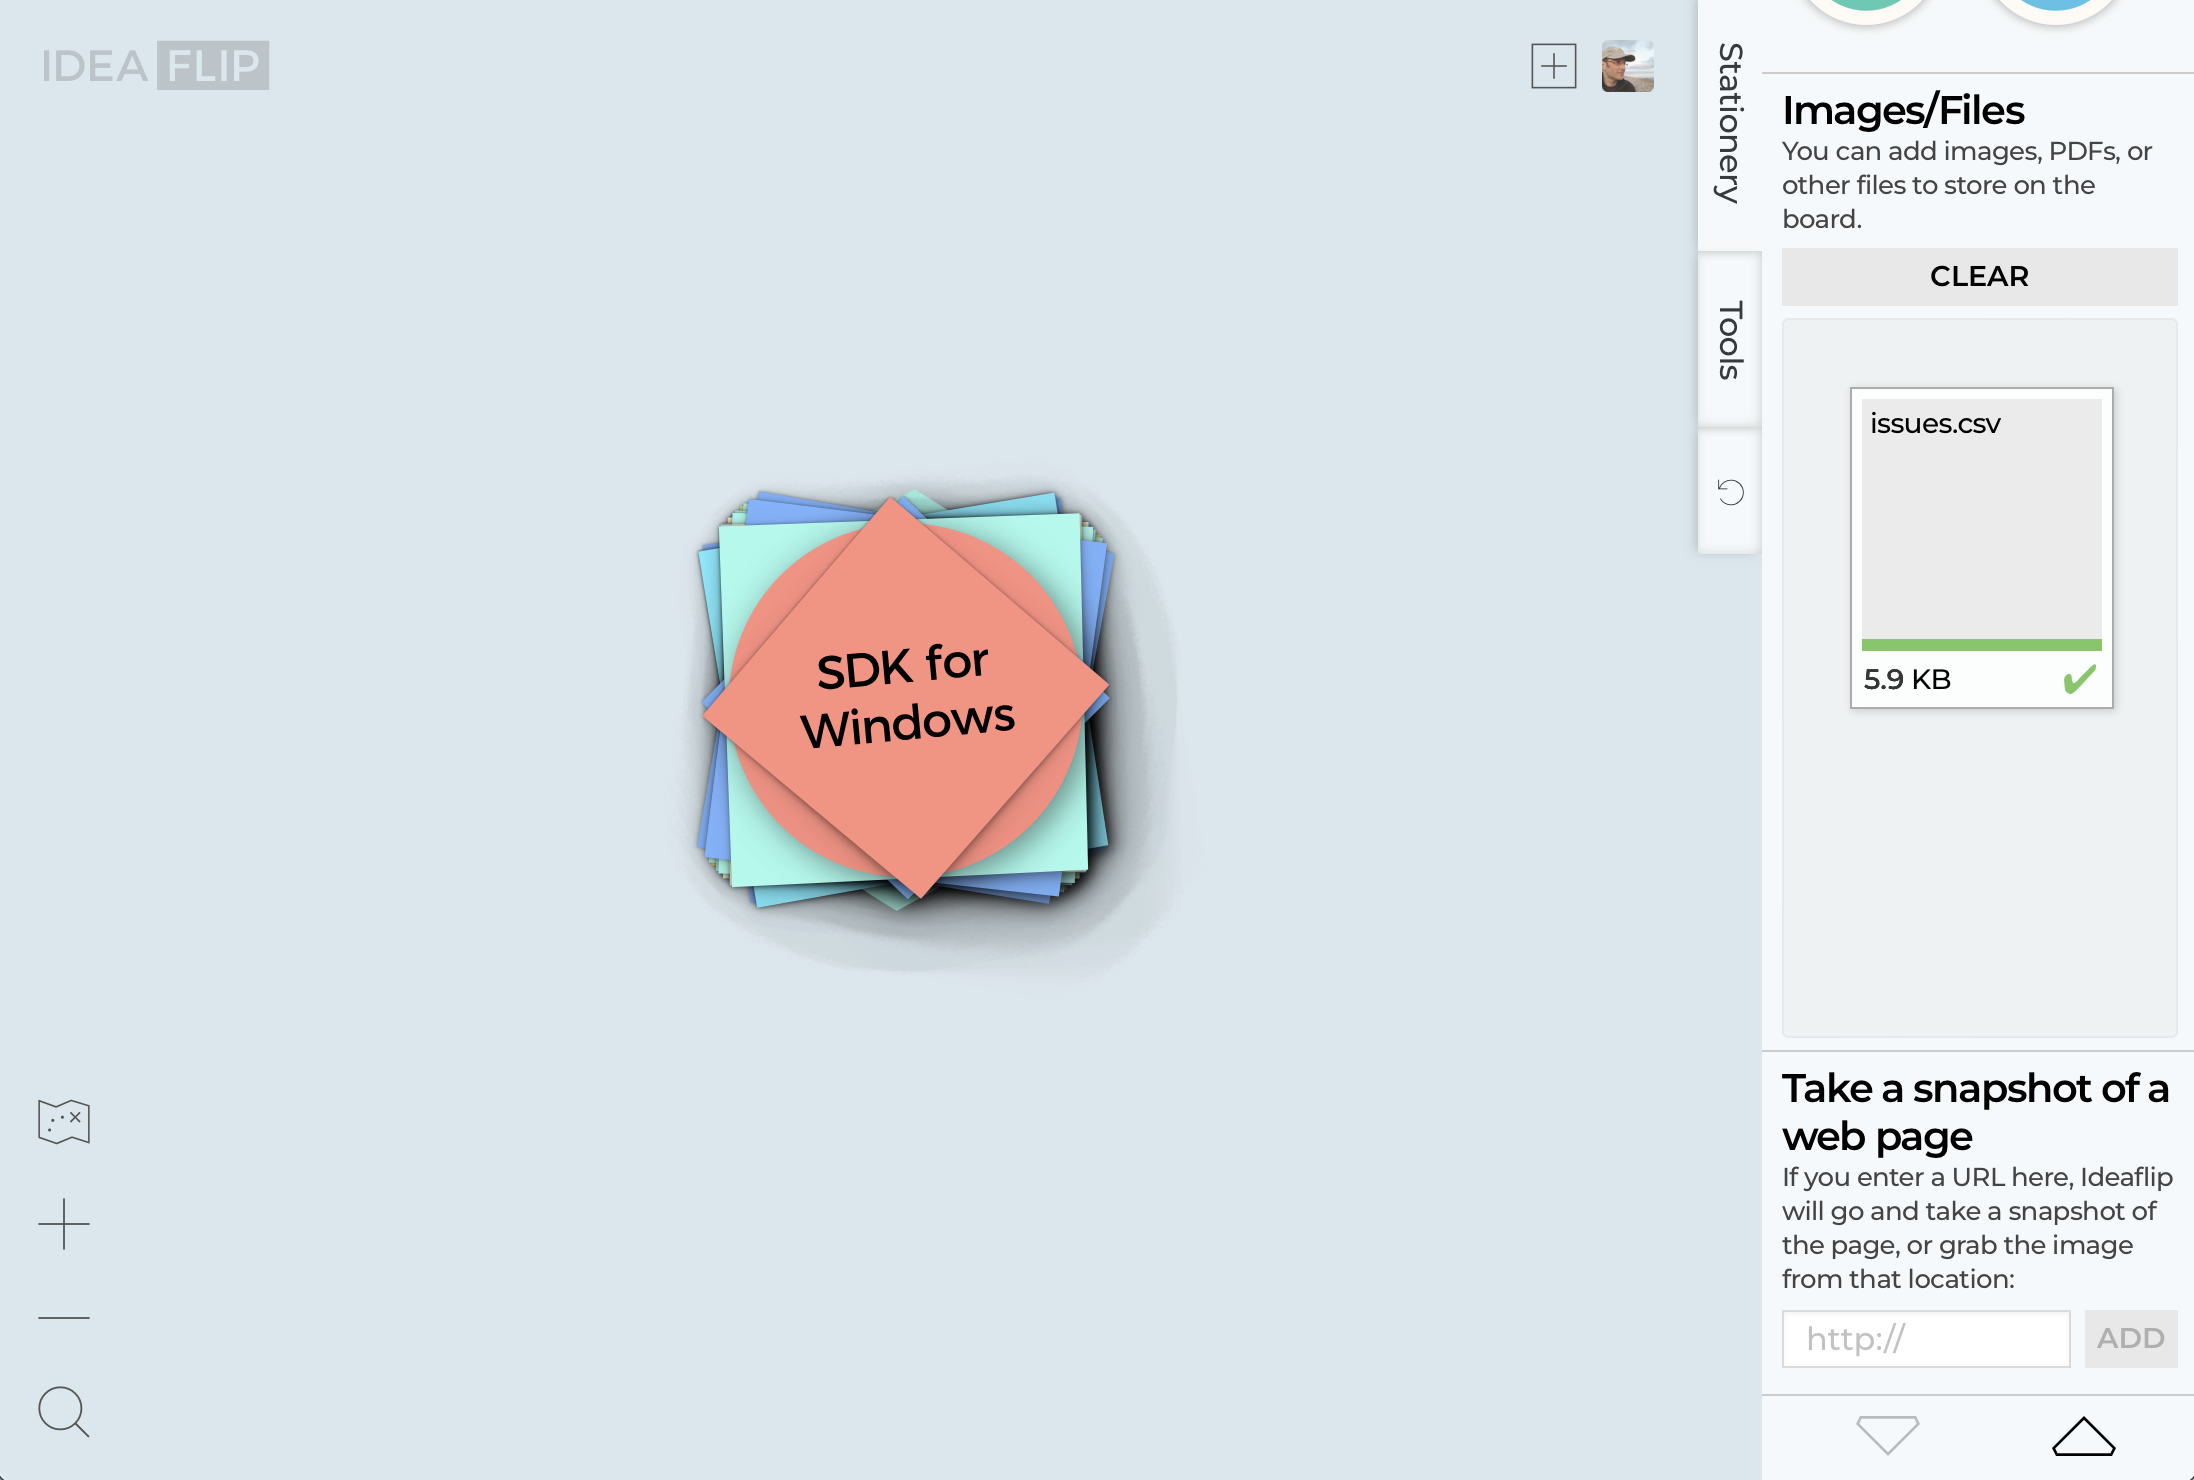
If you just see a single yellow sticky note with a file icon on it - that means that Ideaflip didn't understand your CSV file. It may be that it doesn't have the correct headings in the right order - or might have some unquoted commas or newlines in it. A good way to check is to try opening it in a spreadsheet program such as Excel or an online tool such as CSV Lint.
Organise your Tasks
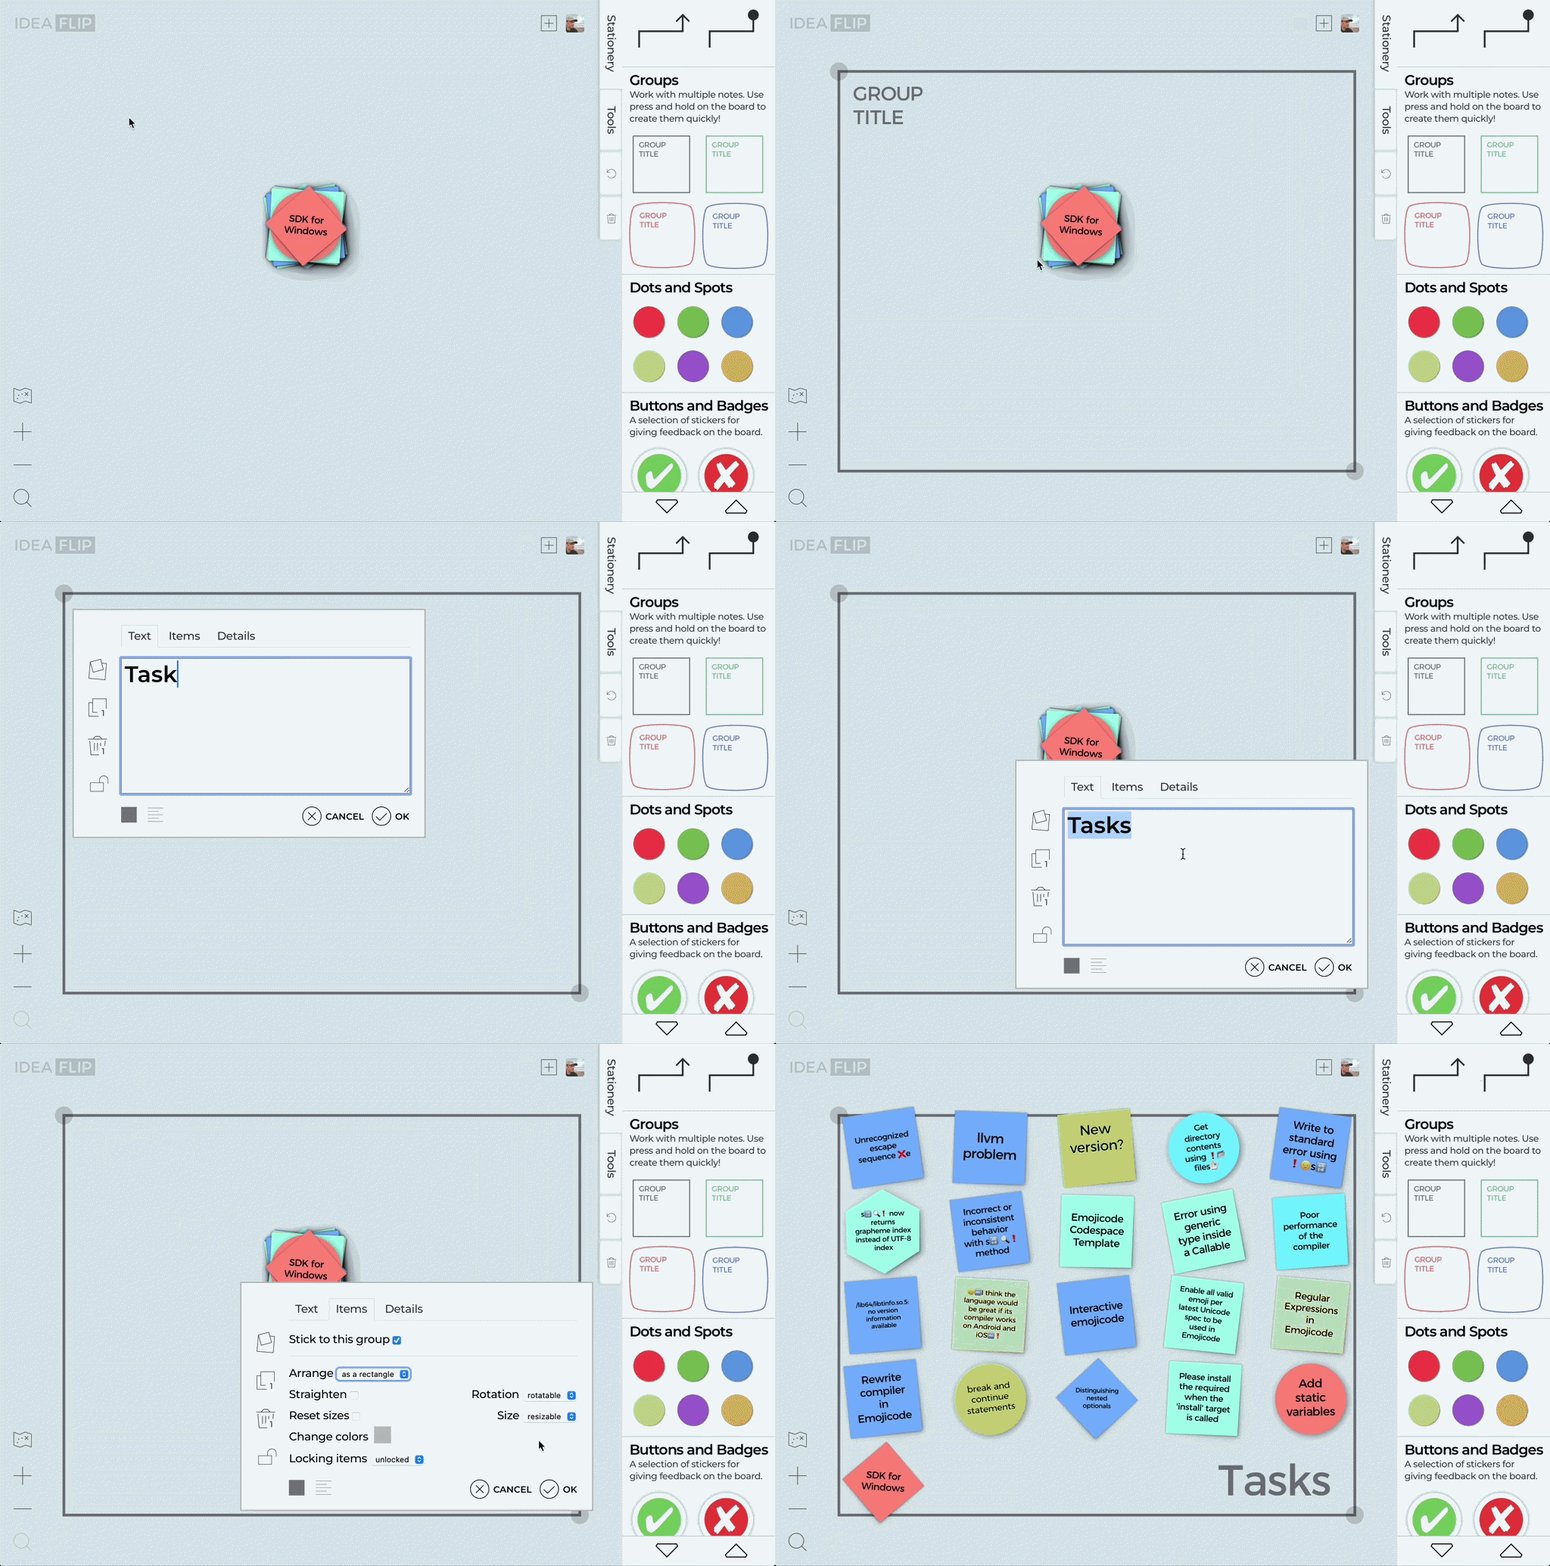
You won't be able to immediately see all of the tasks that you've just uploaded because they'll be in a single stack. A good way to get an overview of what you've just imported is to arrange them in a rectangle. While you could drag each one out to its own space on the board, the quickest way is to add a rectangle group around them and use the Items tab to do this.
Create a Legend
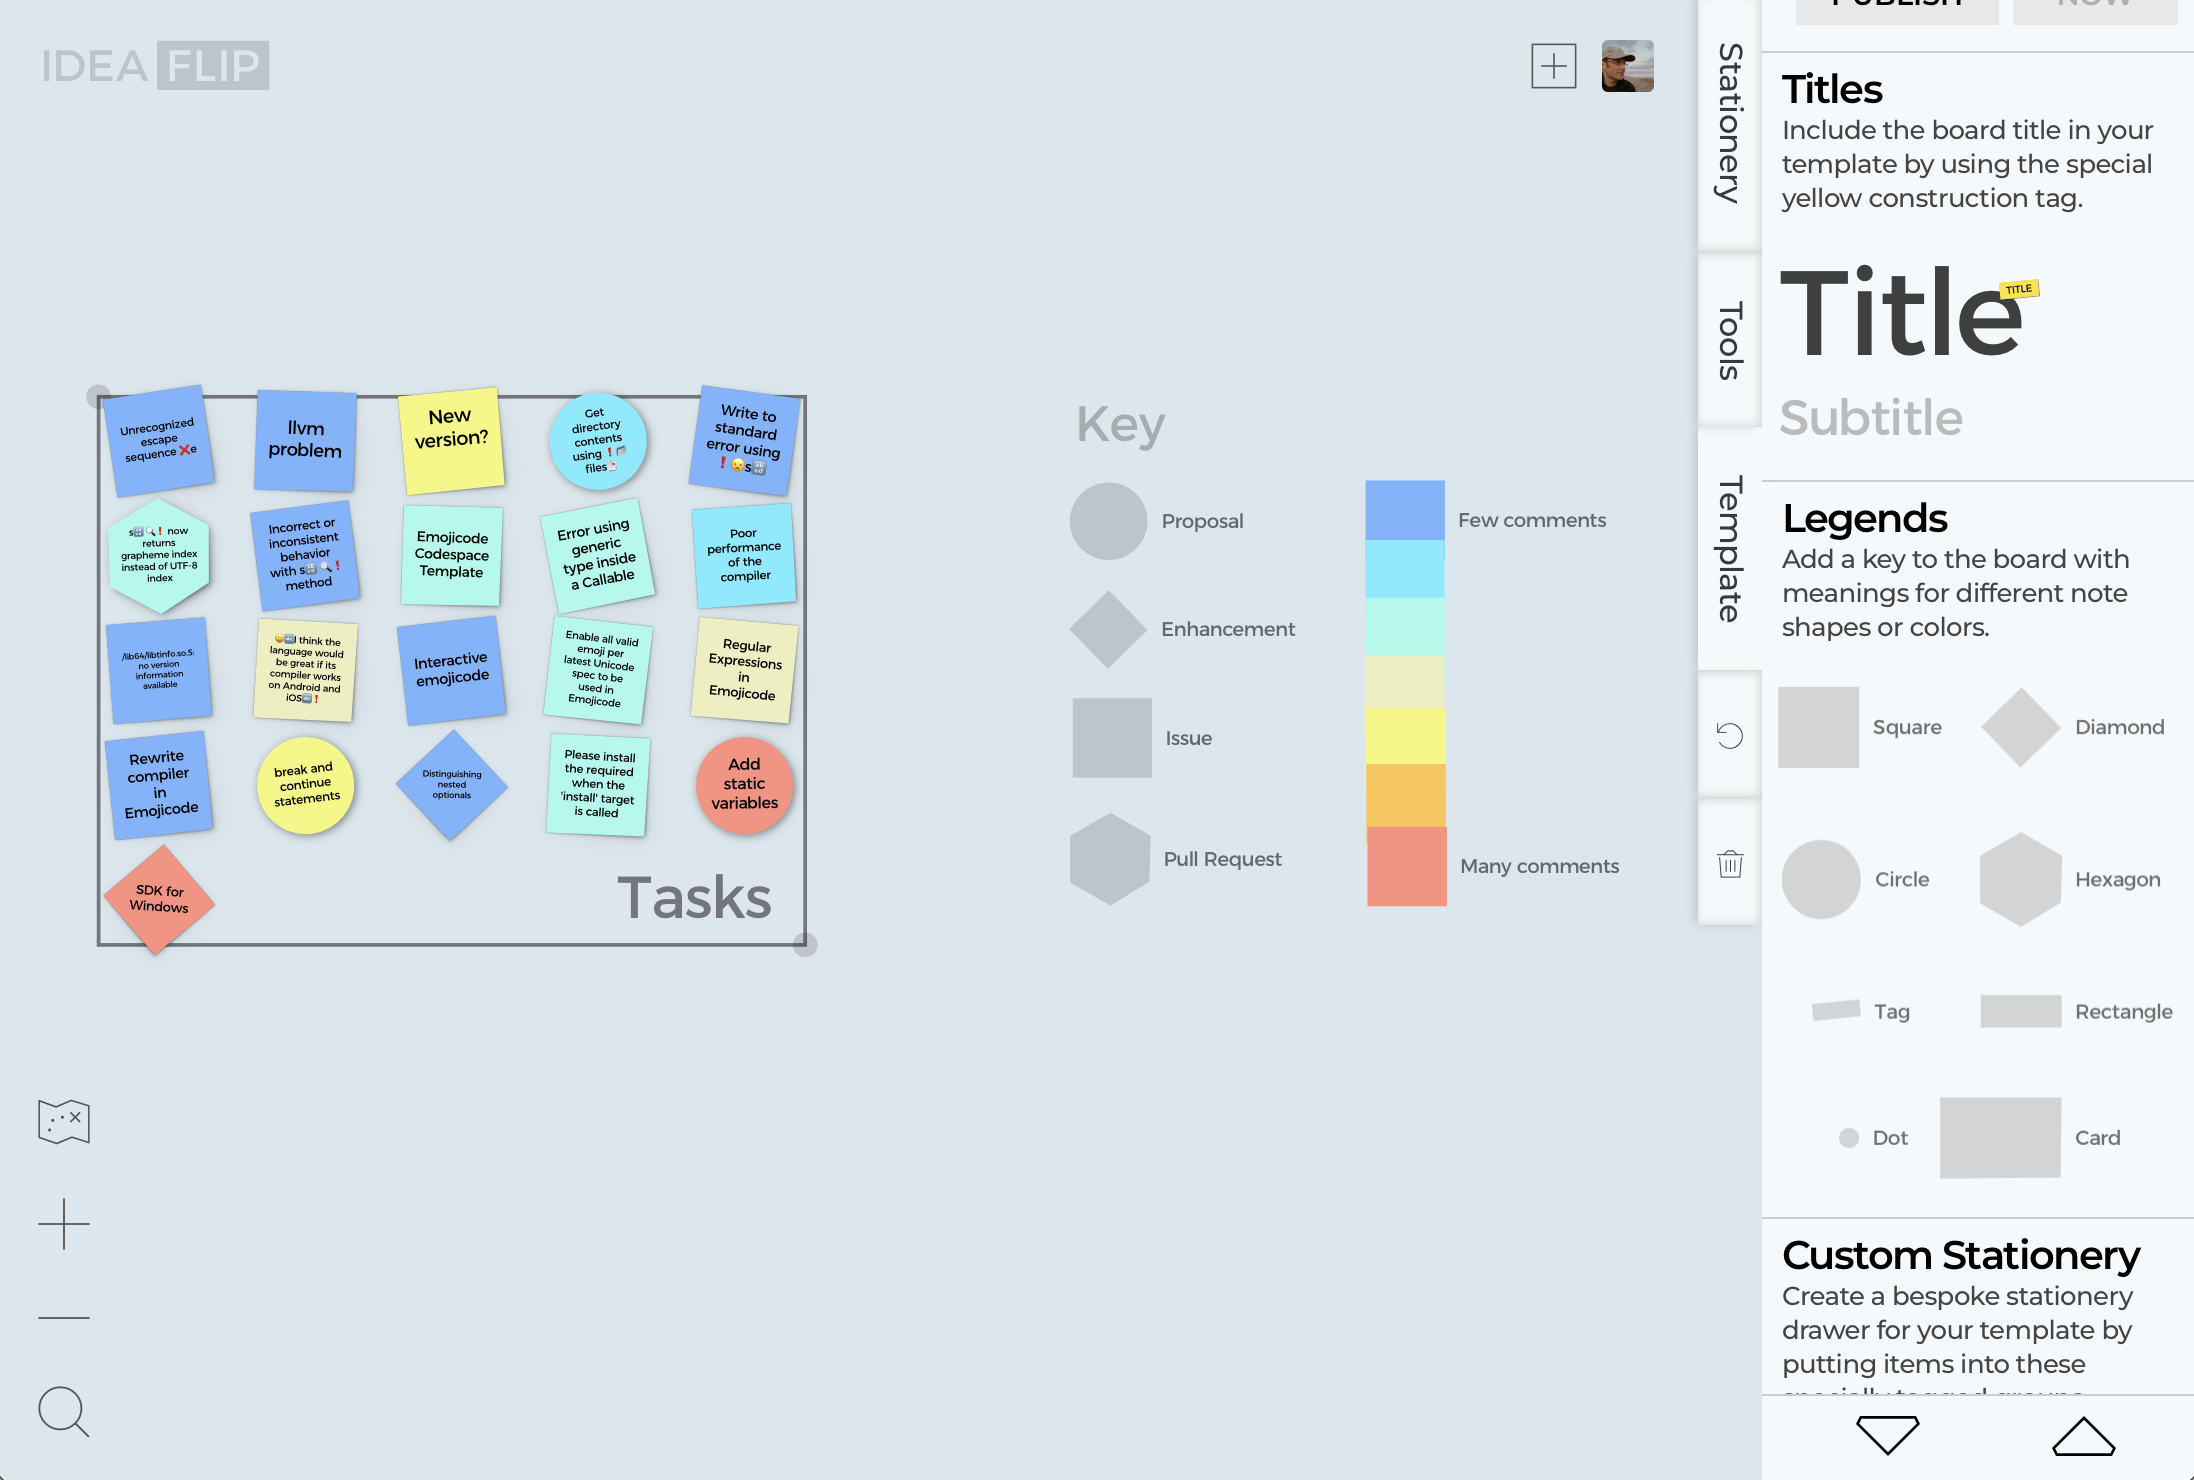
Since we used the colour and the shape to indicate what sort of a task we'd imported, and how many comments it had, we could add a key or legend for our team (or ourself) to refer to.
The best way to do this is to make use of the additional stationery on the Template tab, which is available on any paid Ideaflip plan. To access it, just go to the Tools tab and switch on Template mode. Once you've finished adding the Key you want, you can turn off Template mode.
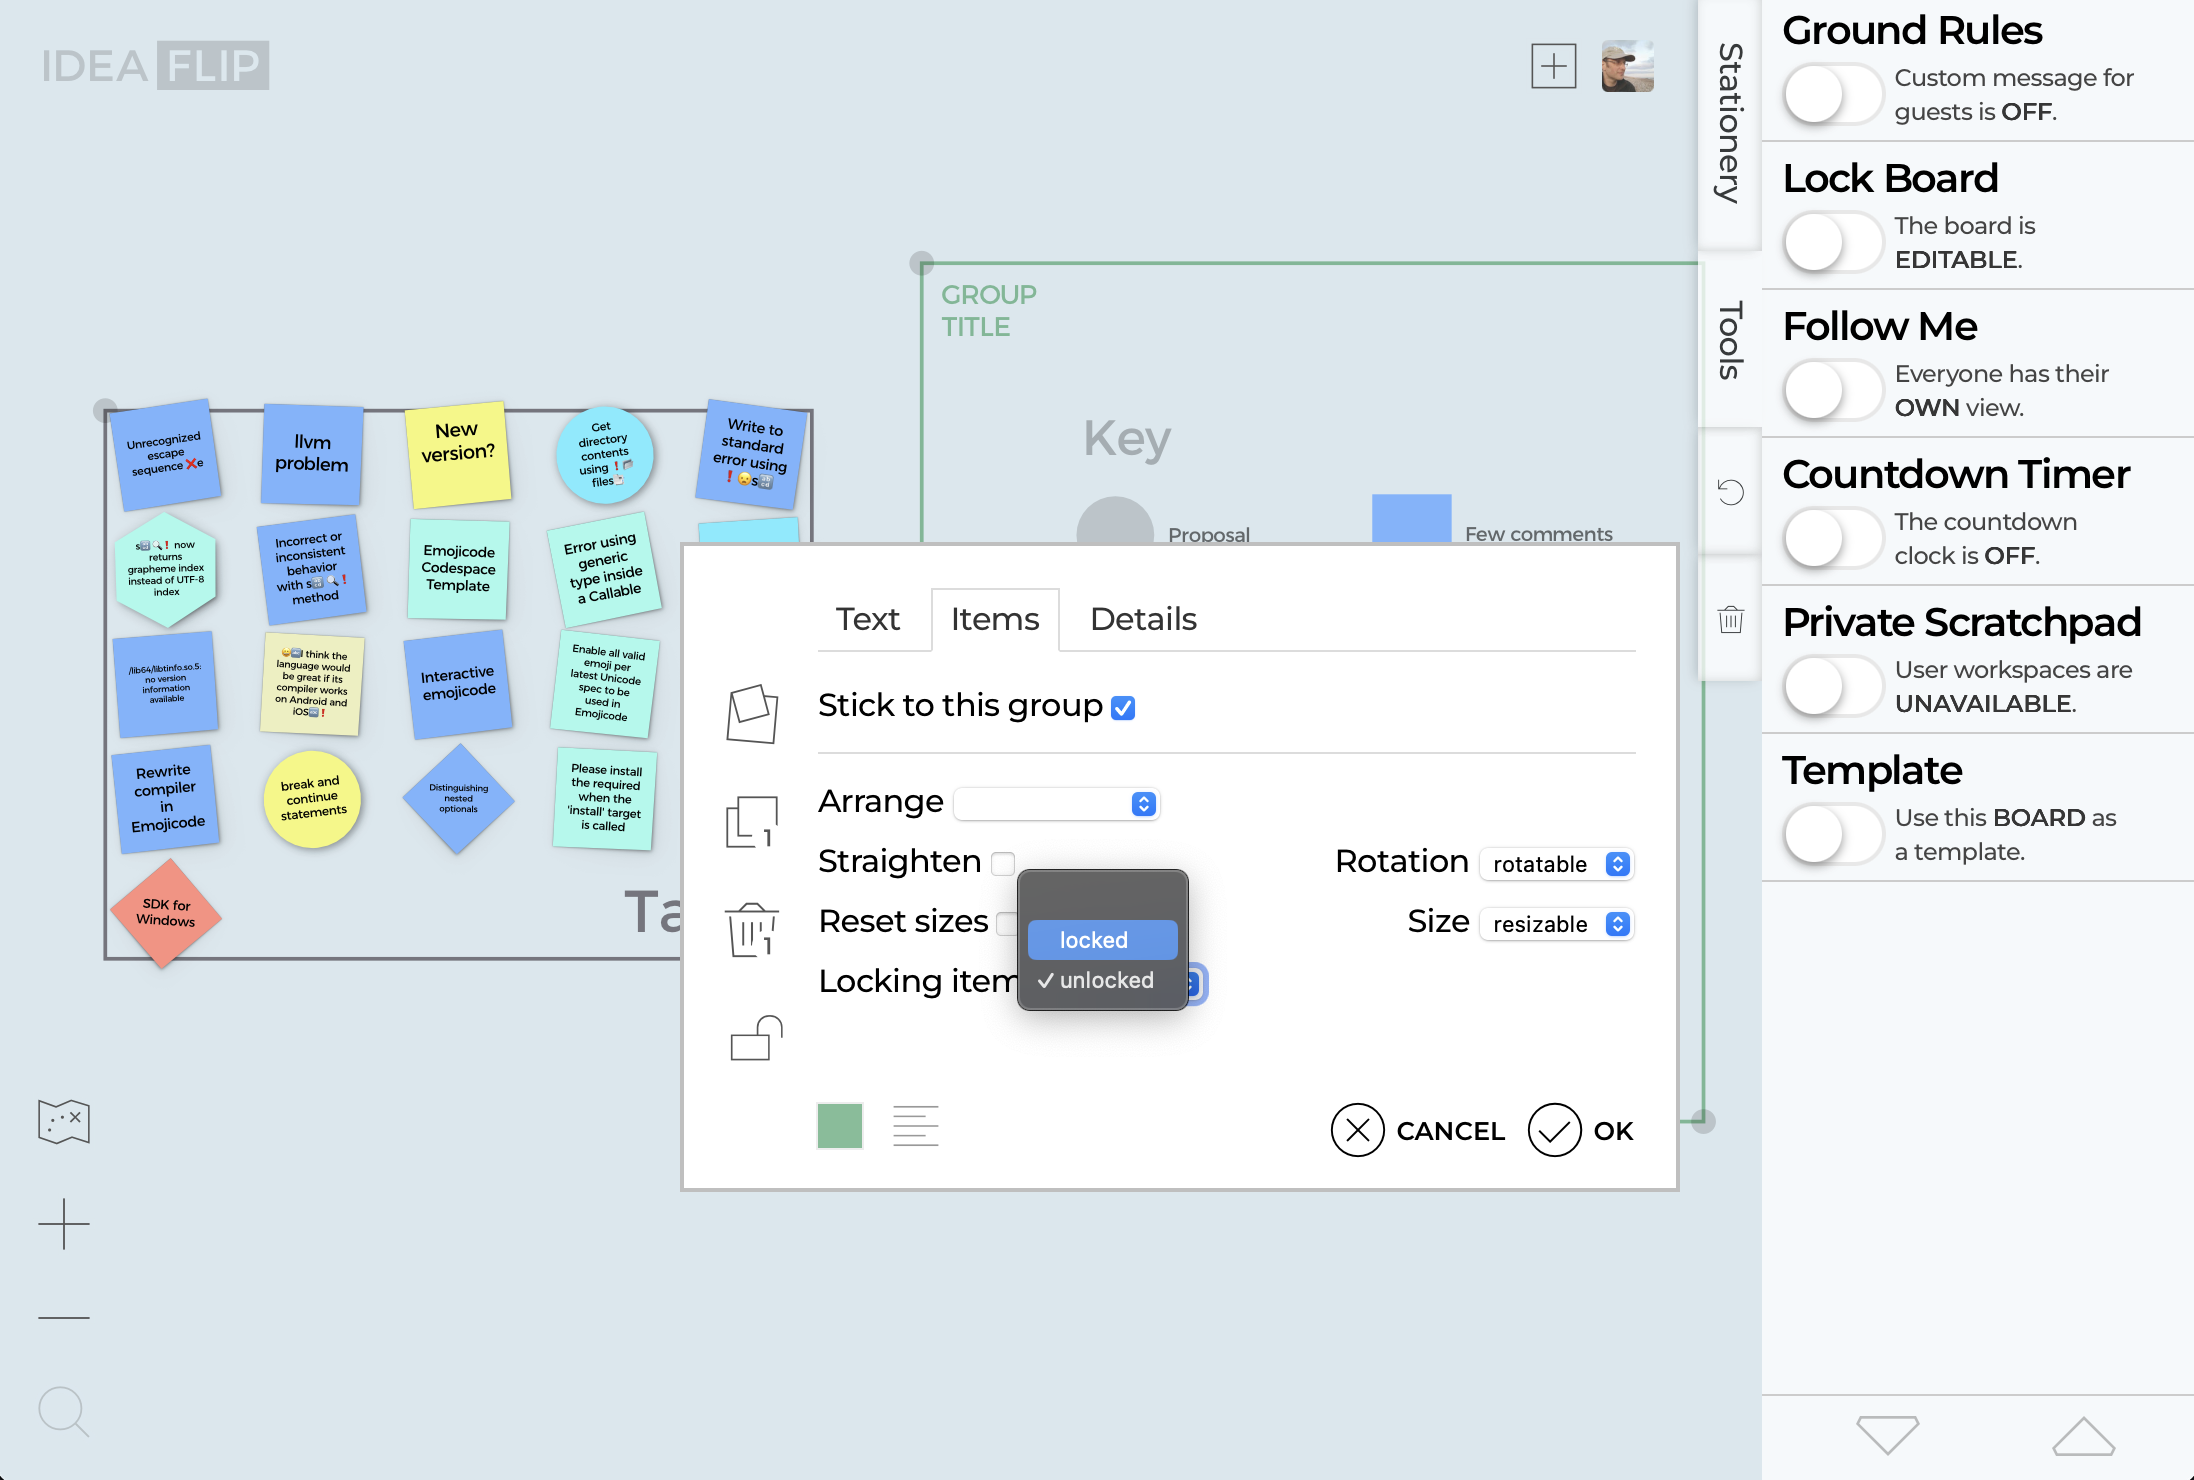
Lock the Key
A good tip at this point is to lock the key in place, so it doesn't accidentally get dragged around by other users. You can do this by editing each item in turn and clicking on the padlock.
However, the quickest way is to add a group the contains everything that you want to lock and use the locking option of the Items tab to set them all in one go.
Invite your Team
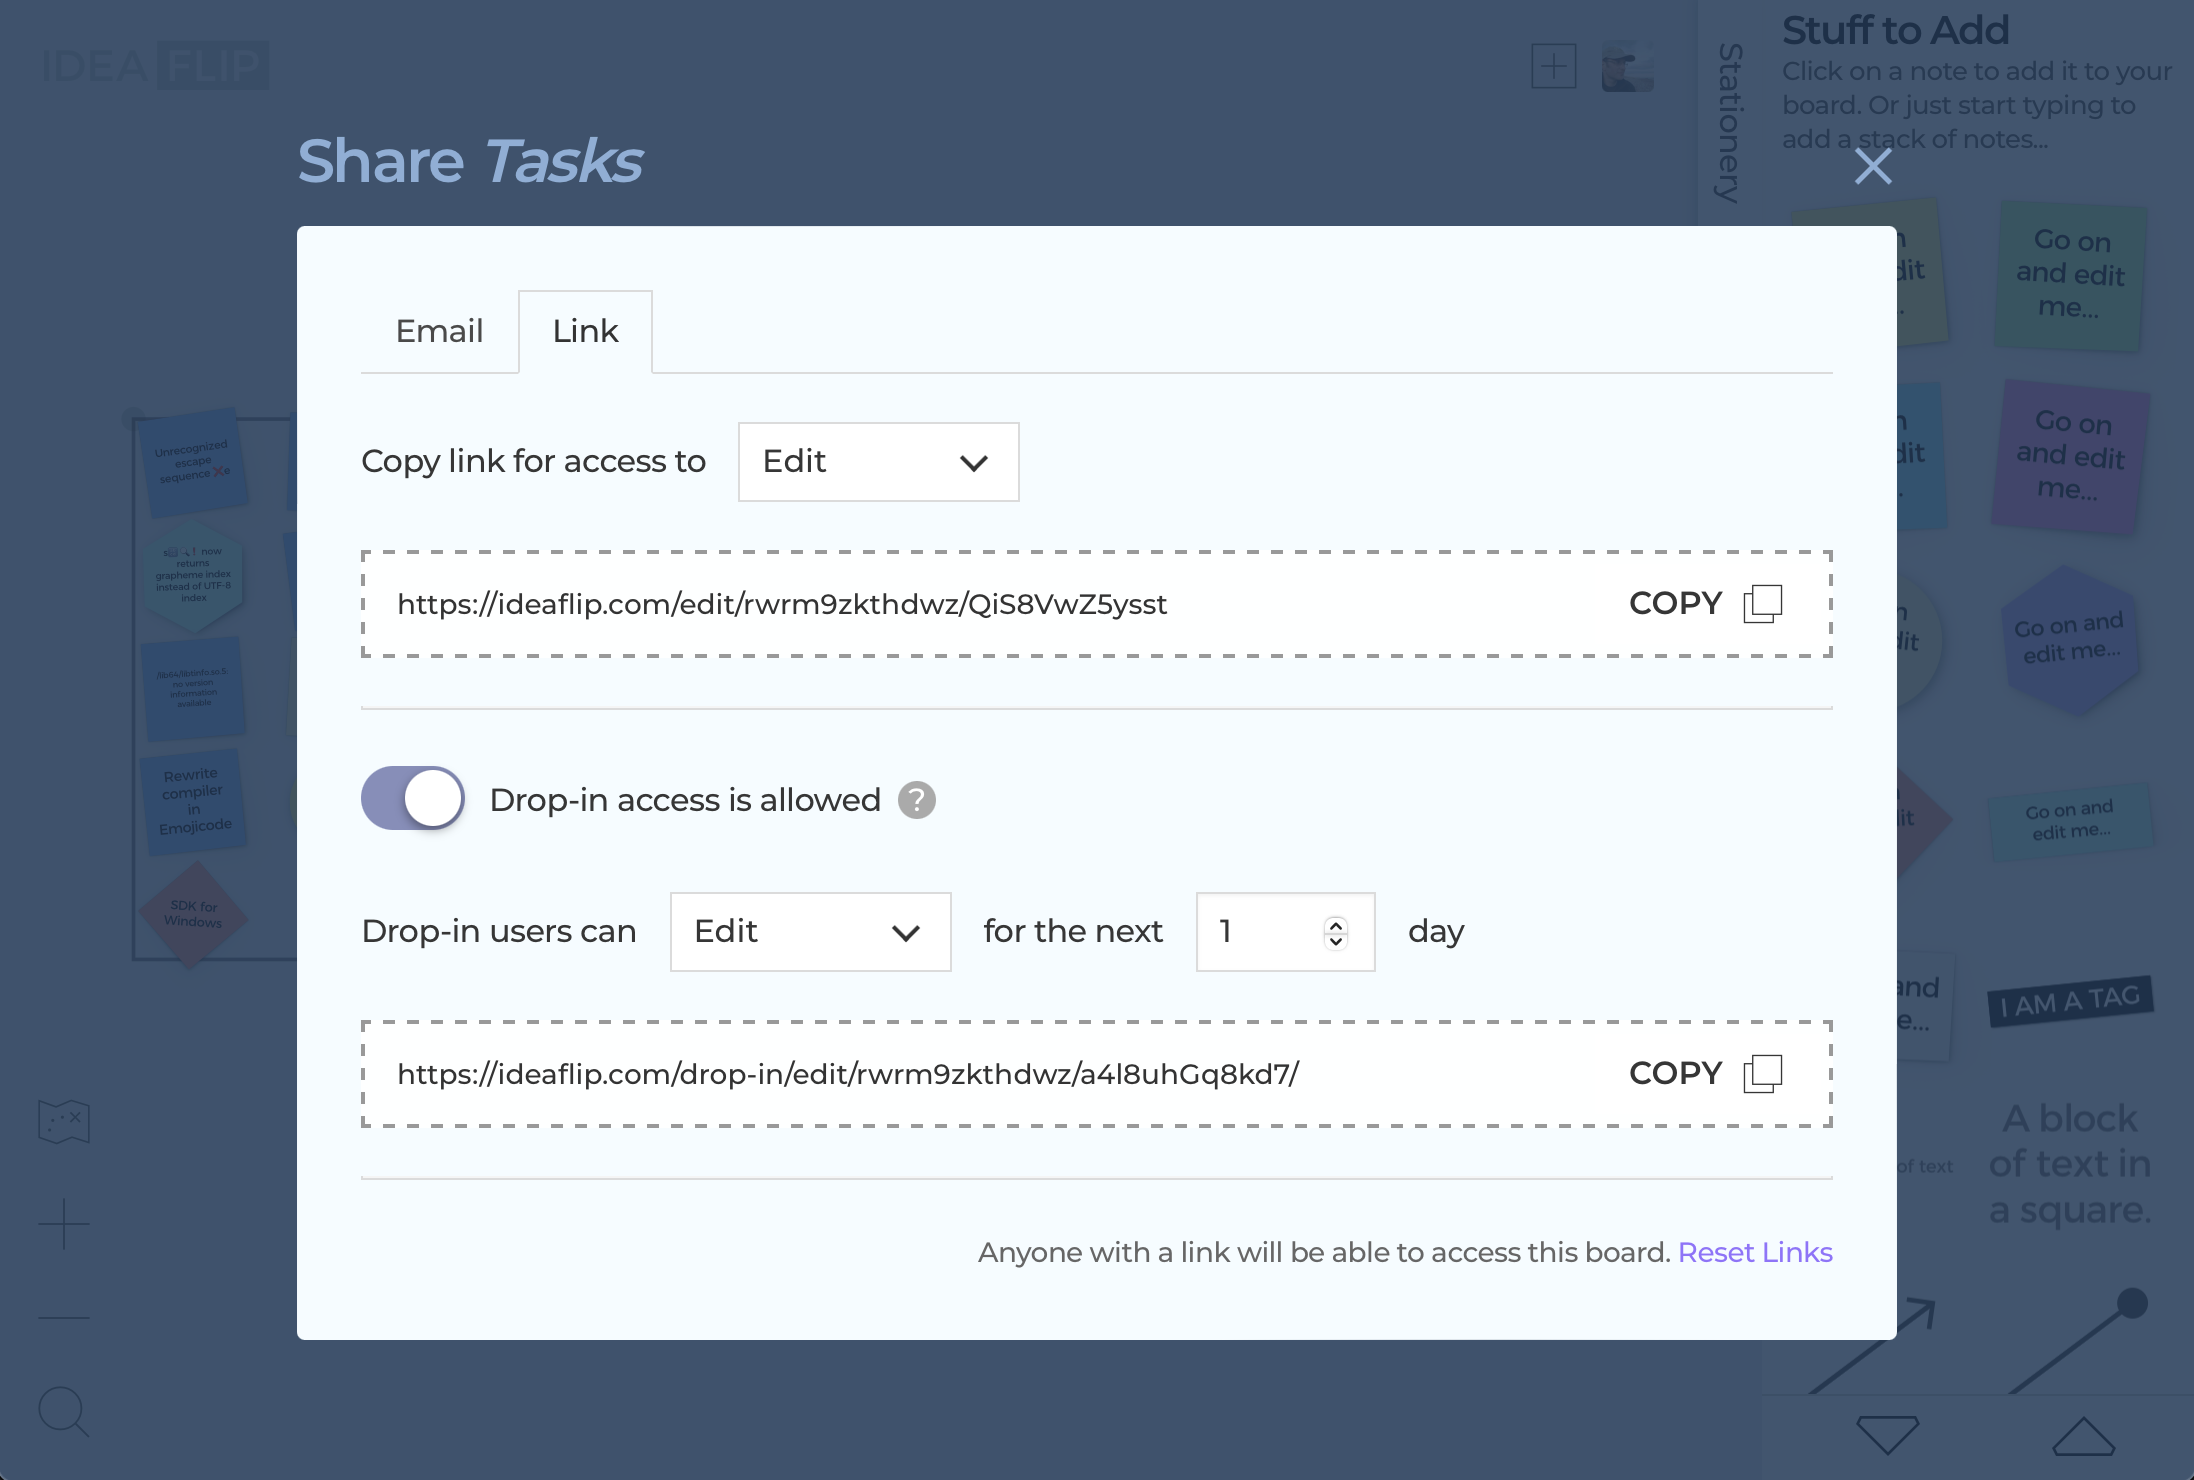
Now you can invite your team to join you. Clicking on the little [+] (plus
sign in a box) icon in the top-right corner opens the invite dialog box.
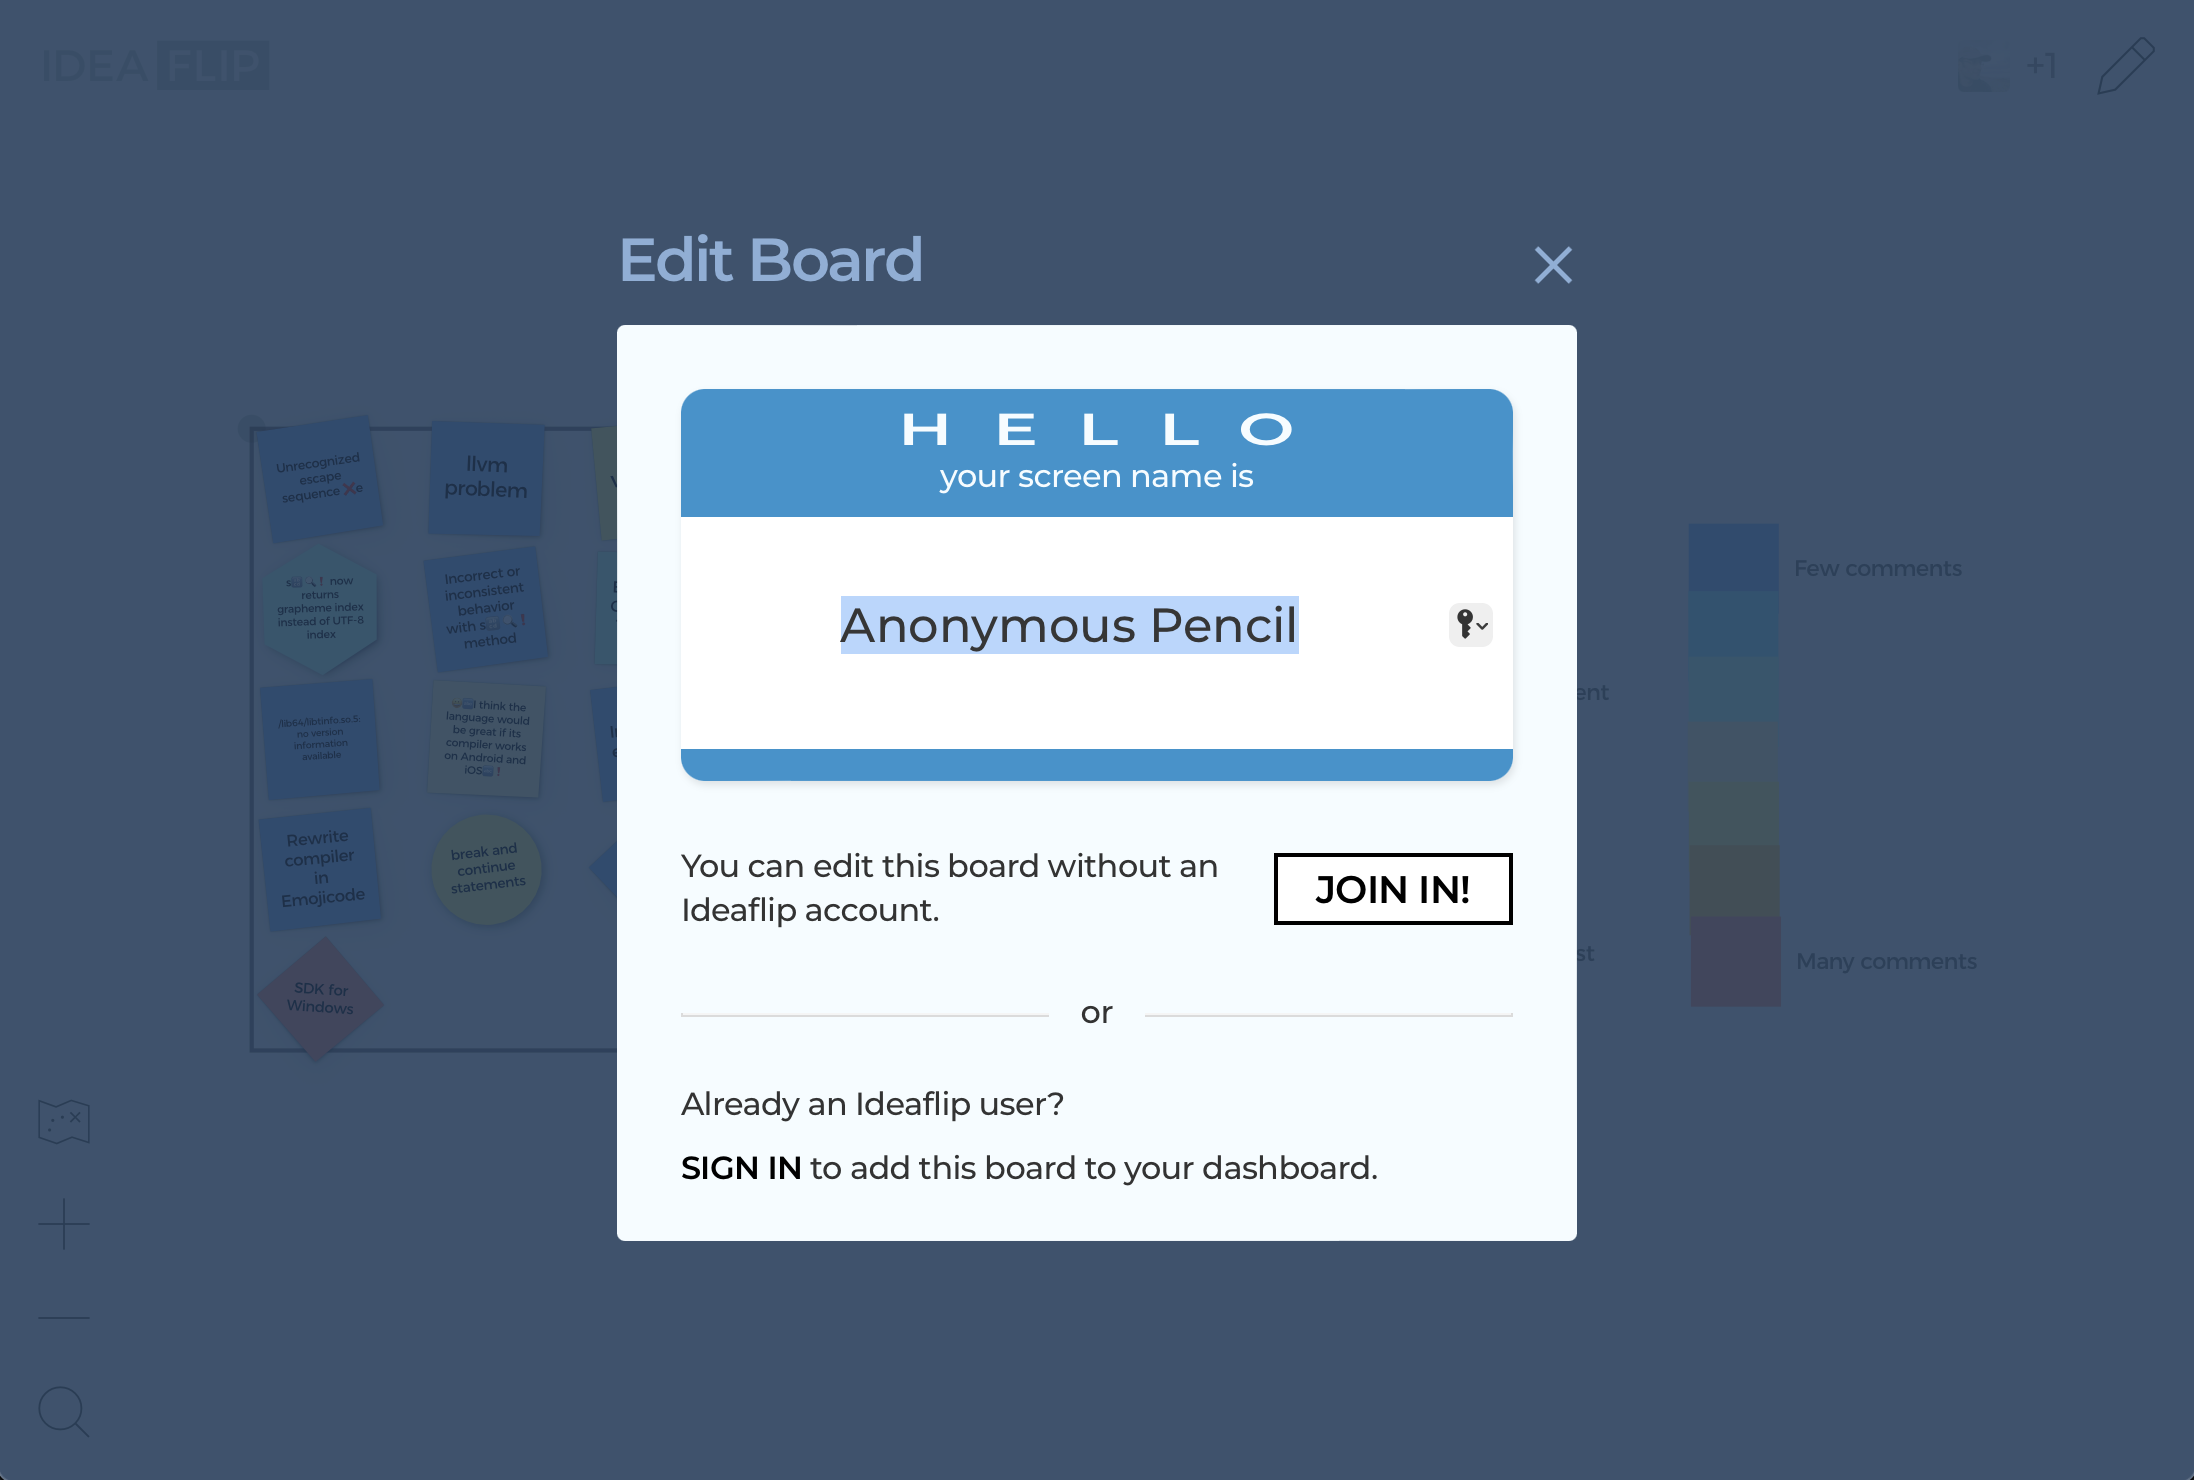
You can choose to email colleagues an invitation, which will contain a link that can be used to sign directly into the board.
Alternatively, if they're Ideaflip regulars who already have an Ideaflip login you can DM them an invite link from the Link tab.
Or if you have a Professional plan subscription and you'd like to invite some folk on a one off basis (such as clients) you can enable Drop-in Access and provide them with that link instead.
Review the Tasks
Once everyone's arrived at the board, if you're in the same room, then you're ready to get organising. (If not, you'll need to jump on a zoom call or something similar first.)
One approach to is to get everyone to look at the notes and pick three or four of the ones they think are the most important and move them into an area of the board for discussion.
It can be helpful to agree up front what 'important' means for the purposes of this session. Is the goal to fix problems; are you looking for quick wins; or is the aim to identify strategically important work?
It can be difficult to remember the detail of an issue, but as well as the title on the note, we've imported some of the description, into each note's Detail tab.
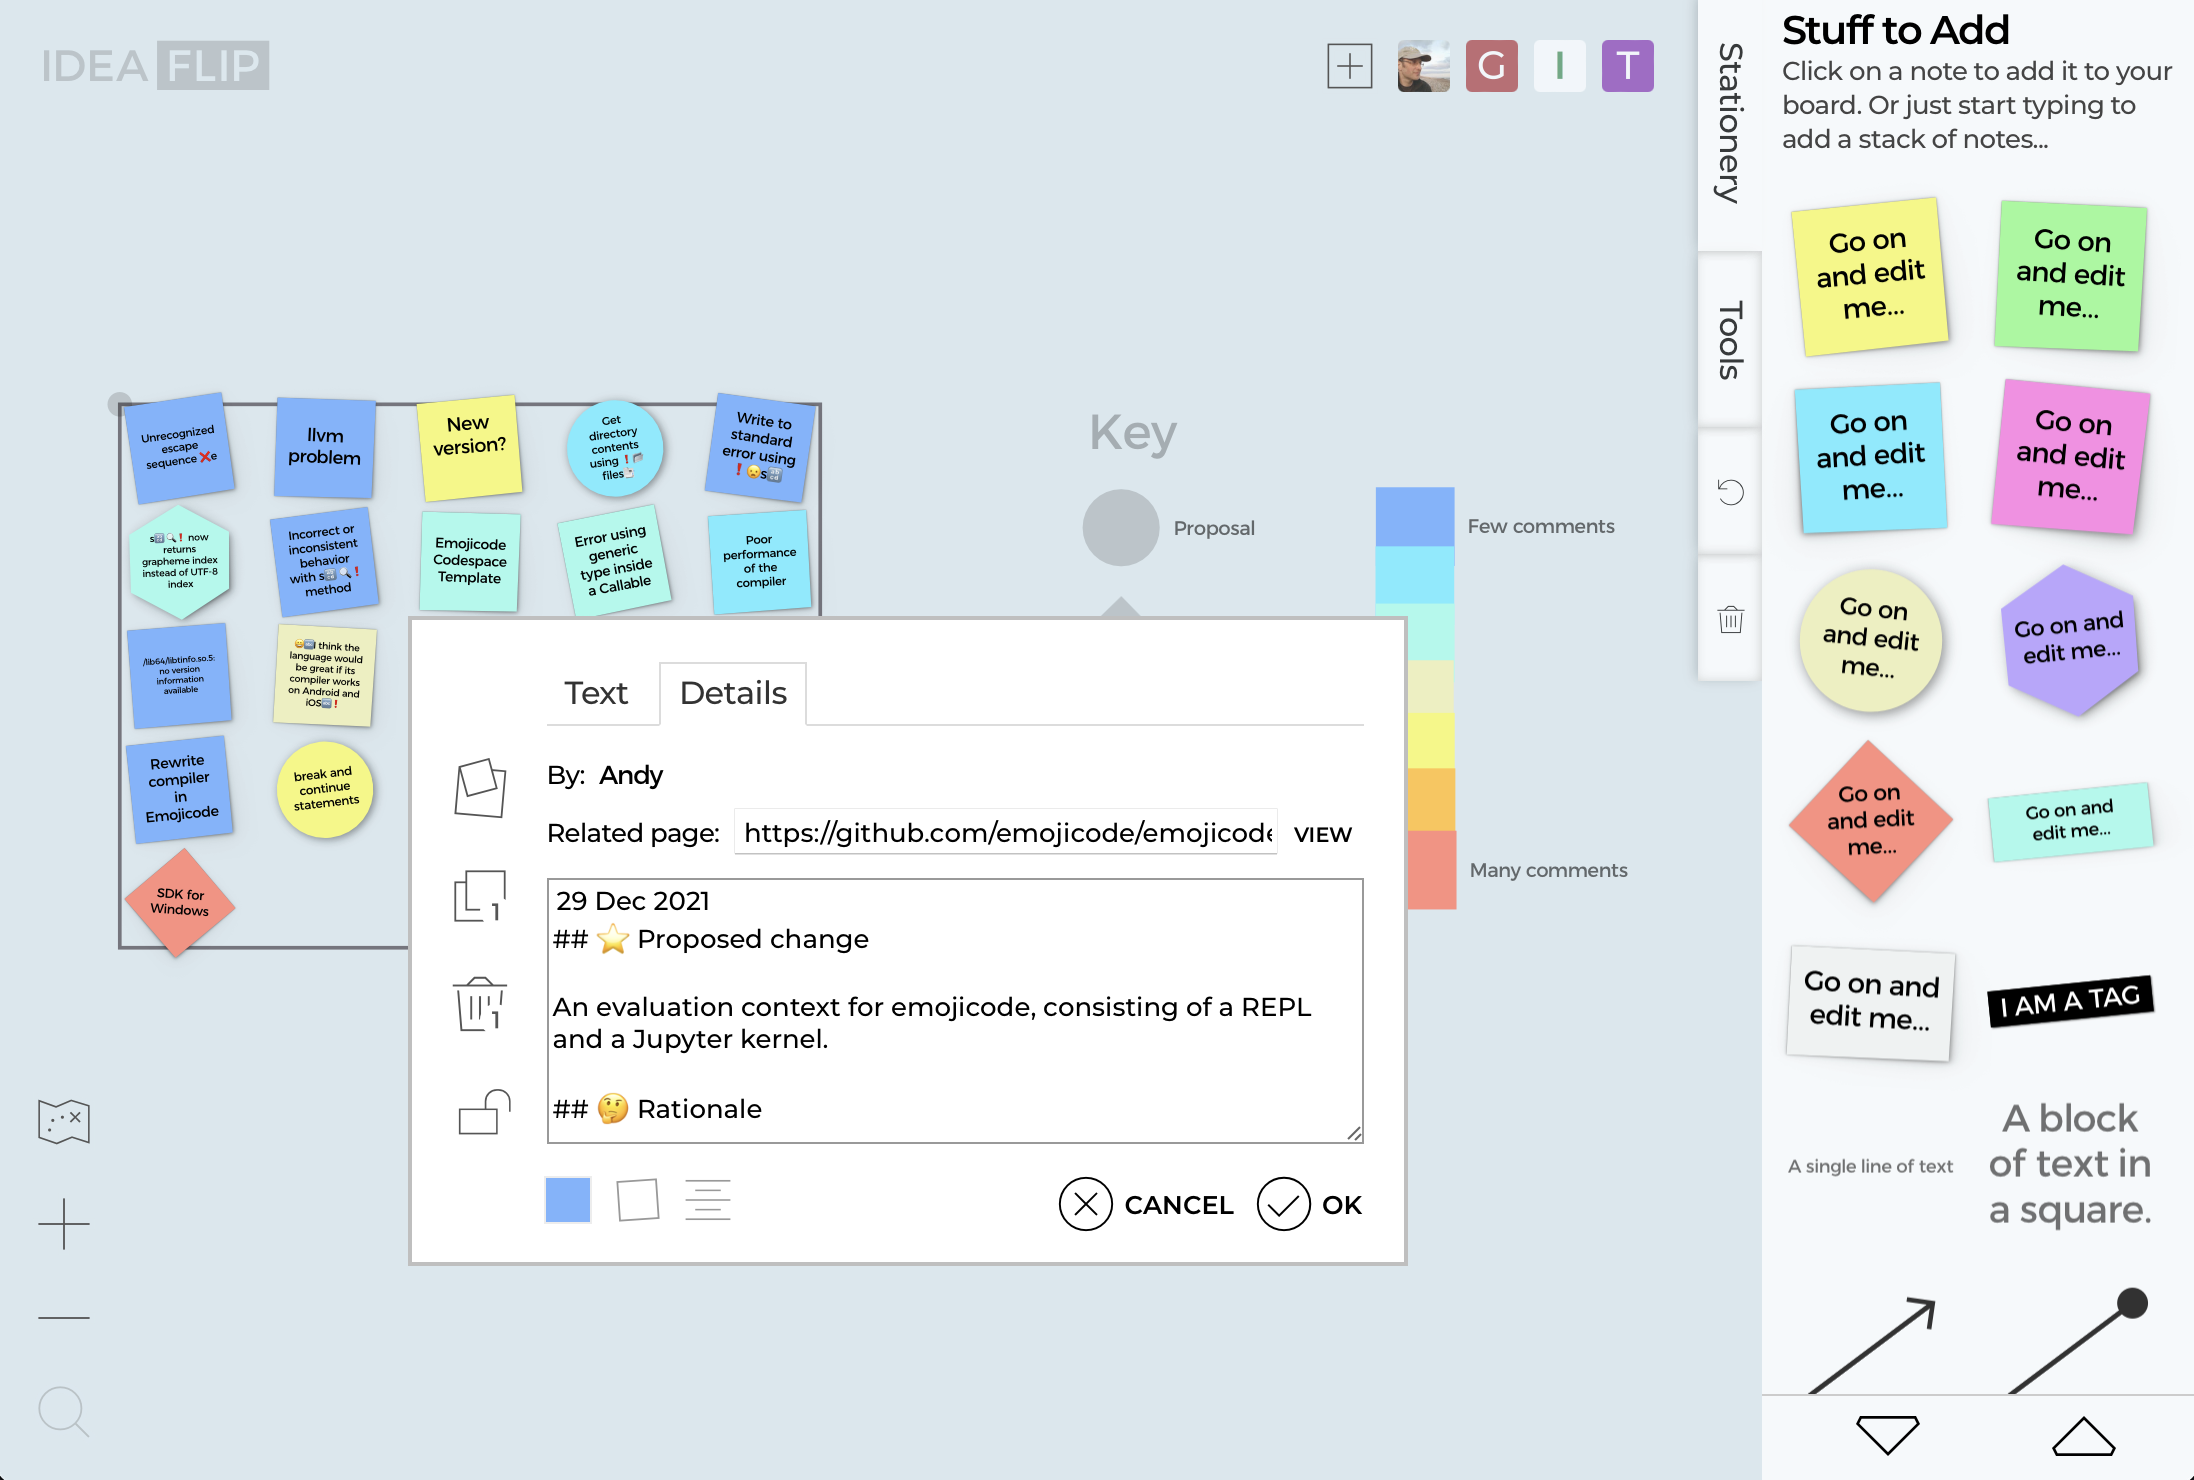
This part of the sticky note's pop-up also contains a direct link (URL) for the issue itself so we can VIEW more detail in another tab if we want to.
Quick Sort
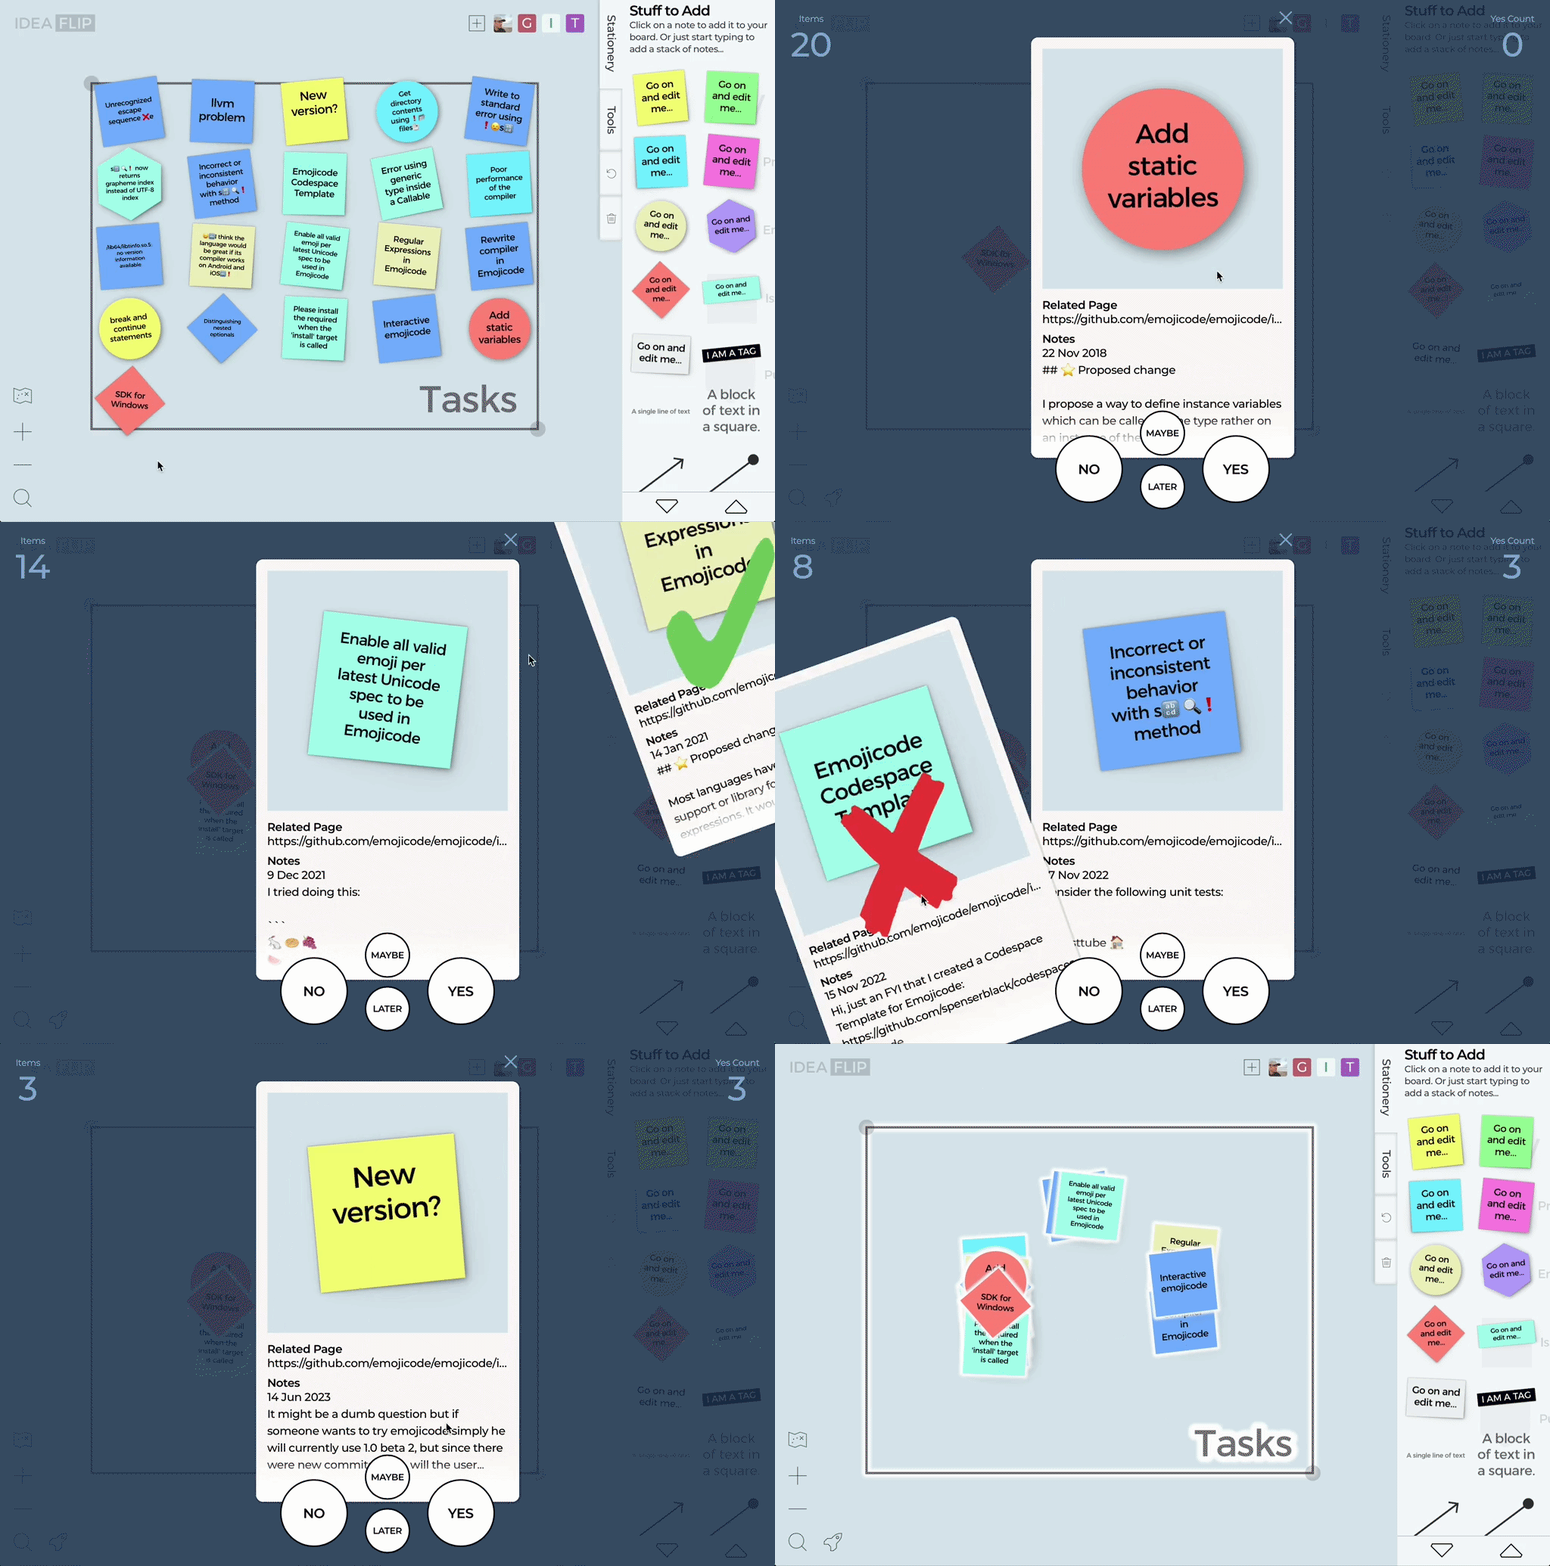
However, a quicker way is to use Ideaflip's Launcher to sort through the tasks. Select all the notes in the group by tapping on the group - its title is easiest - and bring up the launcher by using the rocket icon in the bottom left-hand corner.
Firstly gather the notes back into a single pile, then repeat the process and select Sort option. This will allow you to look at each note in turn, including its Details and drag it into a No, Maybe or Yes pile.
You do this by swiping left, up or right respectively (or using the buttons) - it's also possible to swipe downwards to put a note to the 'back' of the set of cards to decide upon later.
Team Decisions
Remember that while you can use the swipe sort by yourself - it also works cooperatively. As long as only one of you gathers the notes to start with, every member of the team can select the same set of tasks and sort through them.
The decisions you make will then get added together - so tasks that everyone agrees on get moved further and further to the right. The ones that noone wants to do will end up on the left. Those with mixed opinions will stay roughly in the middle.
The more certain folk are, the nearer the bottom the task notes will remain, as every 'maybe' will cause the note to move upwards.
Take the Next Step
After you've reviewed, sorted and discussed the tasks that have been identified as priorities - the only thing left to do is to get on with the job. You can even allocate tasks to people in the meeting by dragging their little avatars from the top-right bar onto the notes. And if you want to, you can export the board to document or share the results of the session.
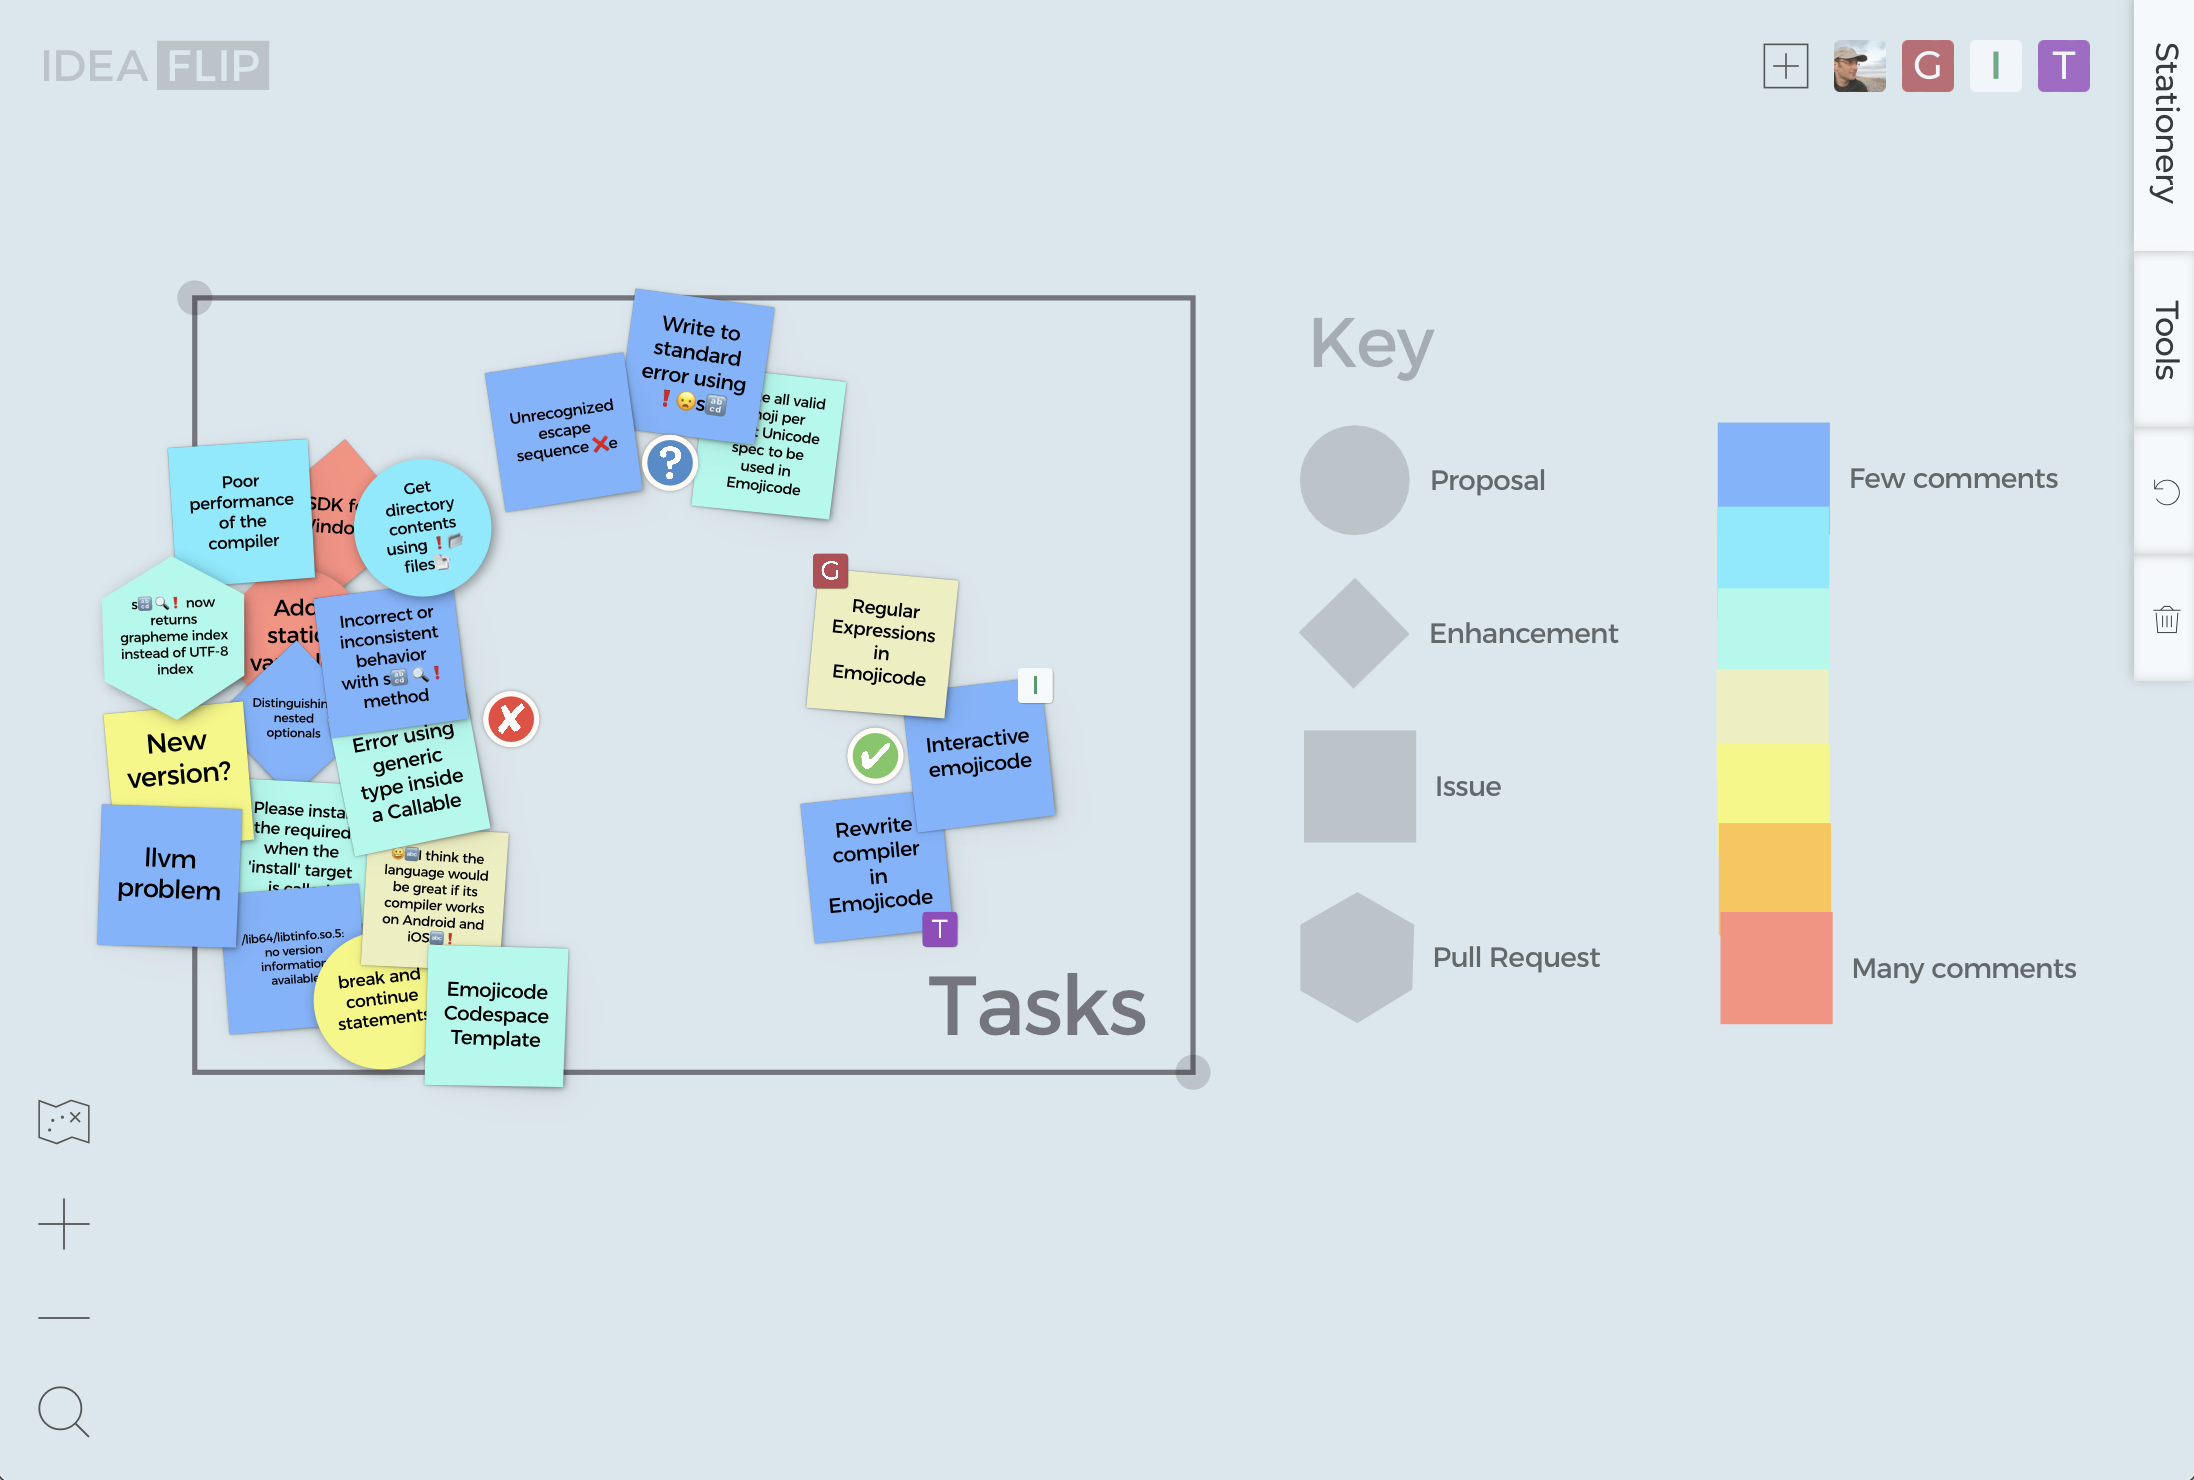
Of course, sometimes work's more complicated than just selecting which issues to work on - but Ideaflip's ideal for drafting plans and sequencing events too.
So, next time you're faced with a mountain of tasks - get them sorted quicker, with Ideaflip.
__
Code
As we promised earlier, the code we used to download the issues from GitHub is below.
const PROJECT='emojicode'
const REPO='emojicode'

function quote(field) {
  return `"${field.replaceAll('"', '""')}"`
}

function shorten(field, length=160) {
  if (field.length < length) {
    return field
  }
  const i = field.lastIndexOf(' ', length)
  return `${field.substring(0, i == -1 ? length : i)}...`
}

const MONTHS = ['Jan','Feb','Mar','Apr','May','Jun','Jul','Aug','Sep','Oct','Nov','Dec']
function format(dateStr) {
  const date = new Date(dateStr)
  return `${date.getDate()} ${MONTHS[date.getMonth()]} ${date.getFullYear()}`
}

const COLORS = ['Blue', 'Light Blue', 'Turquoise', 'Cream', 'Yellow', 'Orange', 'Red']
function color(comments) {
  return COLORS[Math.min(Math.floor(comments / 2), COLORS.length - 1)]
}

const LABEL_SHAPE = {
  enhancement: 'Diamond',
  proposal: 'Circle'
}
function shape(pr, labels) {
  if (pr != null) {
    return 'Hexagon'
  } else   if (Array.isArray(labels) && labels.length > 0) {
    for (const { name } of labels) {
      const shape = LABEL_SHAPE[name]
      if (shape != null) {
        return shape
      }
    }
  }
  return 'Square'
}

async function fetchIssues() {
  const response = await fetch(`https://api.github.com/repos/${PROJECT}/${REPO}/issues`)
  if (!response.ok) {
    throw new Error(response.status);
  }

  const result = await response.json();
  console.log('Text,Color,Shape,Extra notes,Related url')
  for (const issue of result) {
    console.log(`${quote(issue.title)},${color(issue.comments)},${shape(issue.pull_request,issue.labels)},${quote(format(issue.created_at) + '\n' + shorten(issue.body))},${issue.html_url}`)
  }
}

fetchIssues()
If you want to try it yourself, put the above JavaScript into a file called
something like fetch.js and run using node fetch.js > issues.csv. This
will create a CSV file like the one in the example that can be uploaded
directly into an Ideaflip board.
 Online sticky notes to plan, organise and brainstorm with your team remotely